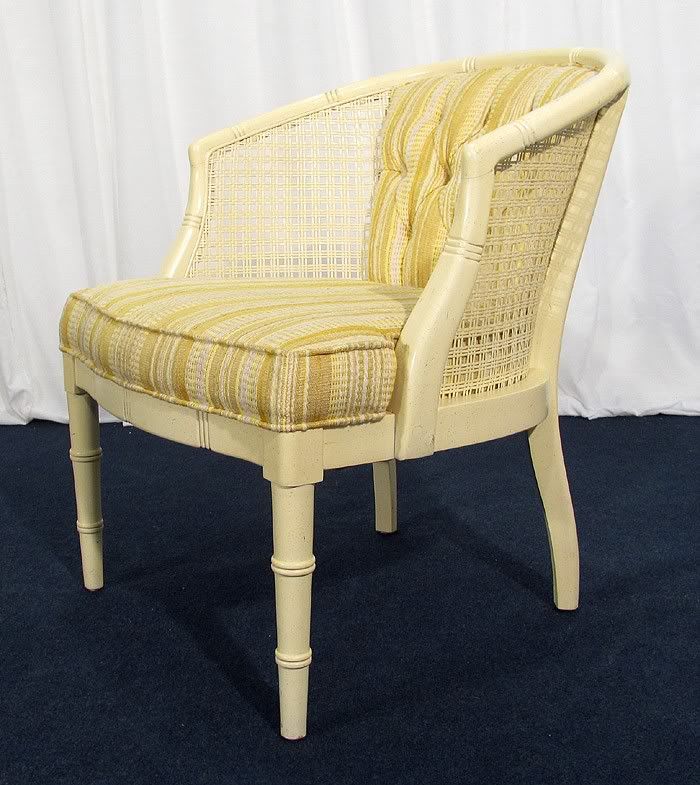
Since this was "pre-blogging" days for me, I don't have an exact before pic of my chairs, but they were something ugly like this....

Mine started with a basic wood finish and some hideous 80's blue floral upholstery. I'm sure we can all visualize something like that from maybe a grandma's house or something. ; ) Here are the steps I took for my transformation.
- I checked thrift stores and CL (Craig's List) every chance I got for a couple of weeks. I kept either finding things I liked but were too expensive for the work they needed (some people really think a lot of their junk, don't they?? ; )) or they just weren't quite right. When I found this set on CL, I jumped immediately. I usually try to talk a price down, but $30 for both was too good to mess with.
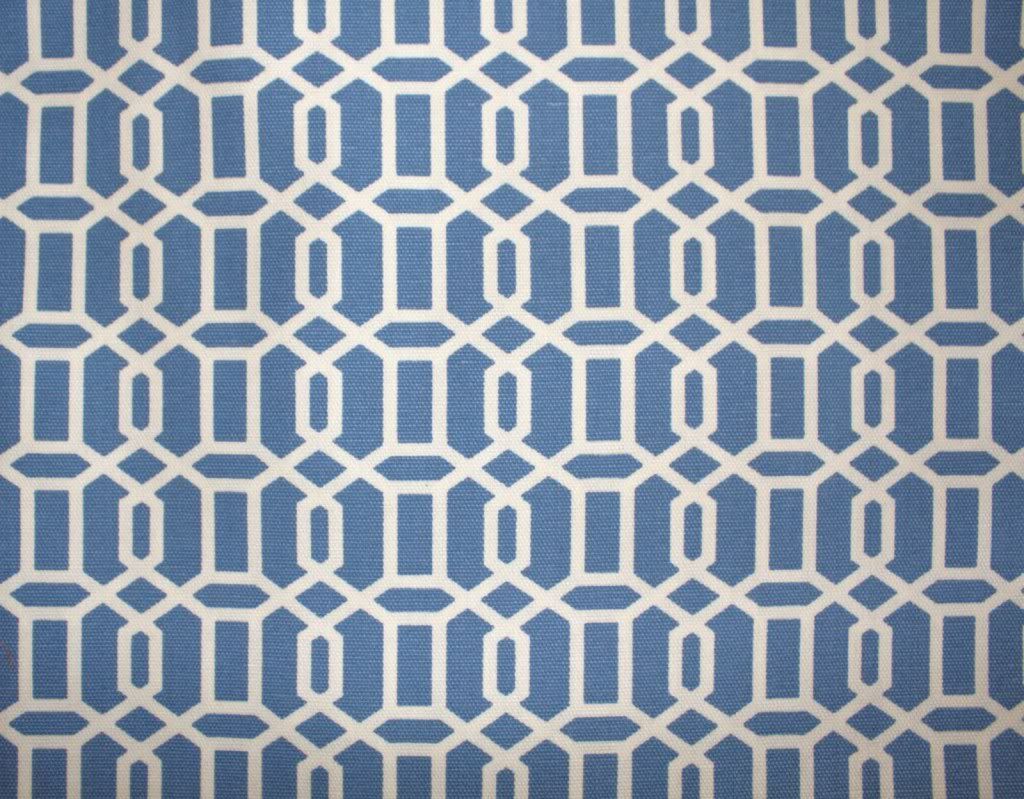
- Found some fabric I loved at Hobby Lobby in the upholstery fabrics....love the color it brings and I'm hoping to add some reds and oranges and maybe a bit of green.
- Got them home, sanded all the wood parts down...just enough to get the sheen off.
- Spray-painted them with primer and then a satin black (about 2-3 coats).
- Took off all the upholstery and watched carefully as I did it. Reupholstering was new to me so I wanted to see how they were constructed.
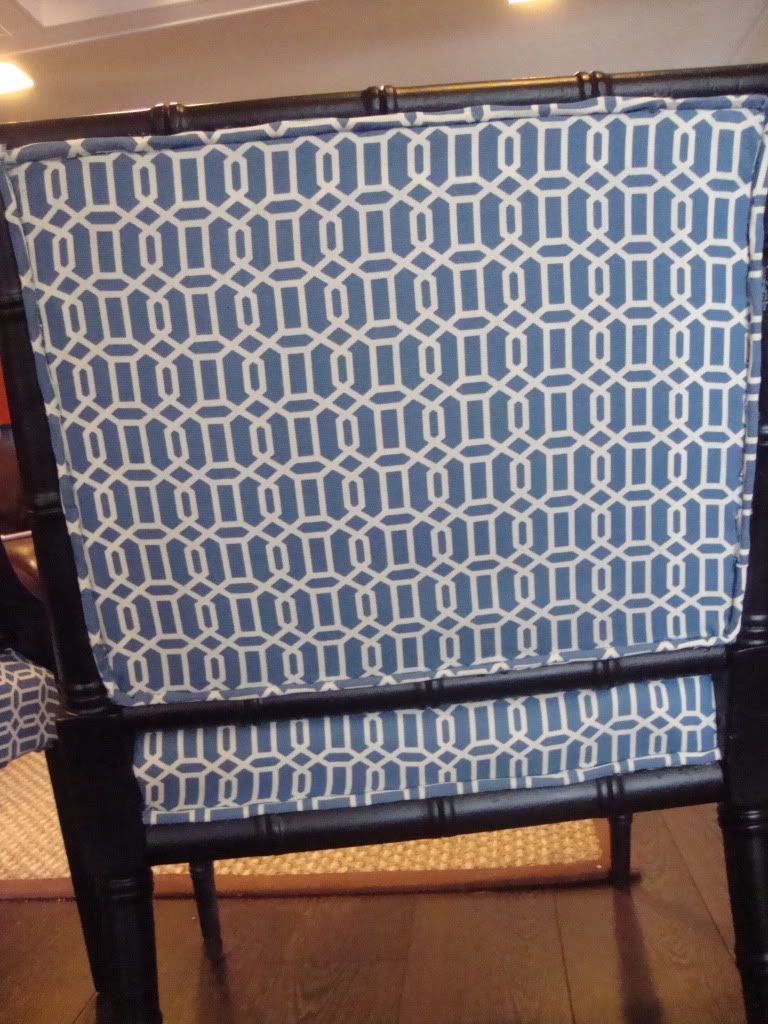
- The chair without fabric on the back was first since there was no piping, I just cut the fabric to size and began stretching and stapling the fabric underneath the chair. I did it side by side starting with the front, going from the middle to the ends. The other chair was a bit more complex. I cut the fabric to exact size, stapled it, and then added the piping with a hot glue gun. I was able to salvage the piping insert from the previous chair and I cut a long strip to hot glue around it.
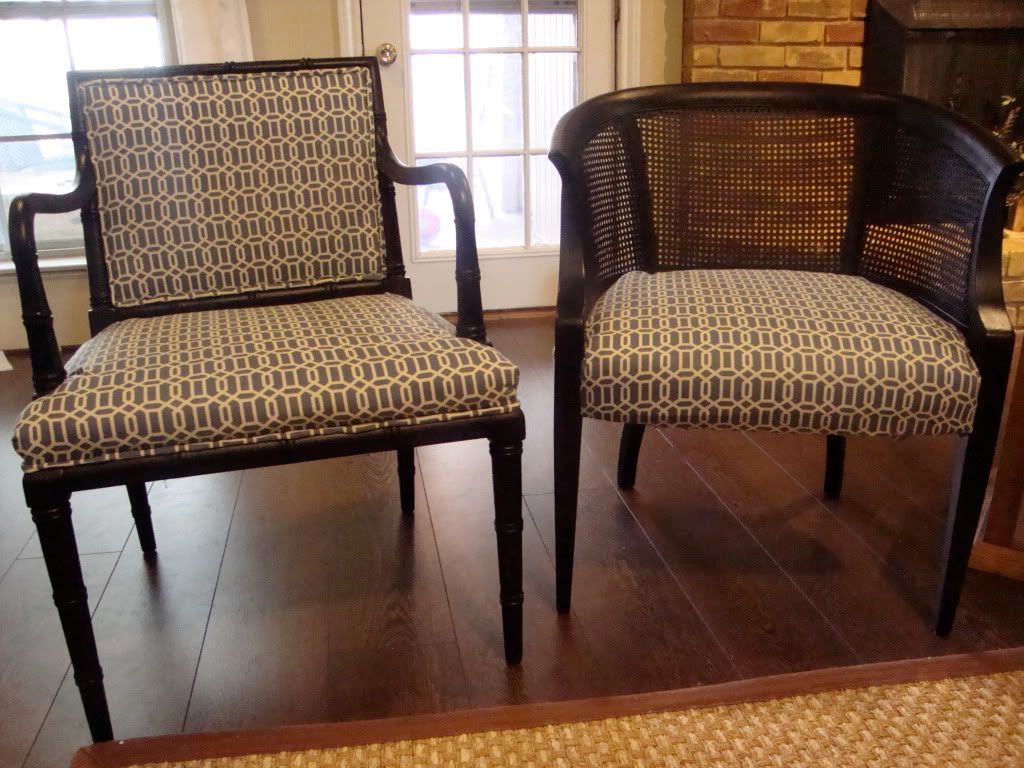
- Ready to use. : )


So, for under $50, I have my extra seating I needed and a bit more color added to my neutral living room...and although professional upholsterers maybe cringing at my methods right now, they look great and have held up so well!
What do y'all think??


Shera, I'm loving your blog! You have such a great eye for design...I may be copying a few ideas here and there for our own home!
ReplyDeleteLove the chairs!!!
Dawn Gearhart
I'm enjoying the blog so much. I read it almost every day. love you and Thanks Y'ALL!!!
ReplyDeleteJill from GA
Thanks for sharing and the chairs look amazing! You make it sound so EASY! I love to do crafty stuff so I am really wanting to try to create something fresh out of some old furniture! Yes, people think way to highly of their junk on CL !!!
ReplyDeleteAlison F.
Thanks, girls! Dawn ~ I'd love for you to copy my ideas...that is what they are here for! ; ) Jill ~ thanks for your support...I keep wondering how that wedding is coming...I'm sure it will be gorgeous! Alison ~ let me know if I can help with any brainstorming...hope you can find some fun pieces to redo!
ReplyDeleteThey look great! We just got a HL within driving distance but I didn't know they had good fabric! Now I can't wait to go check it out!
ReplyDelete